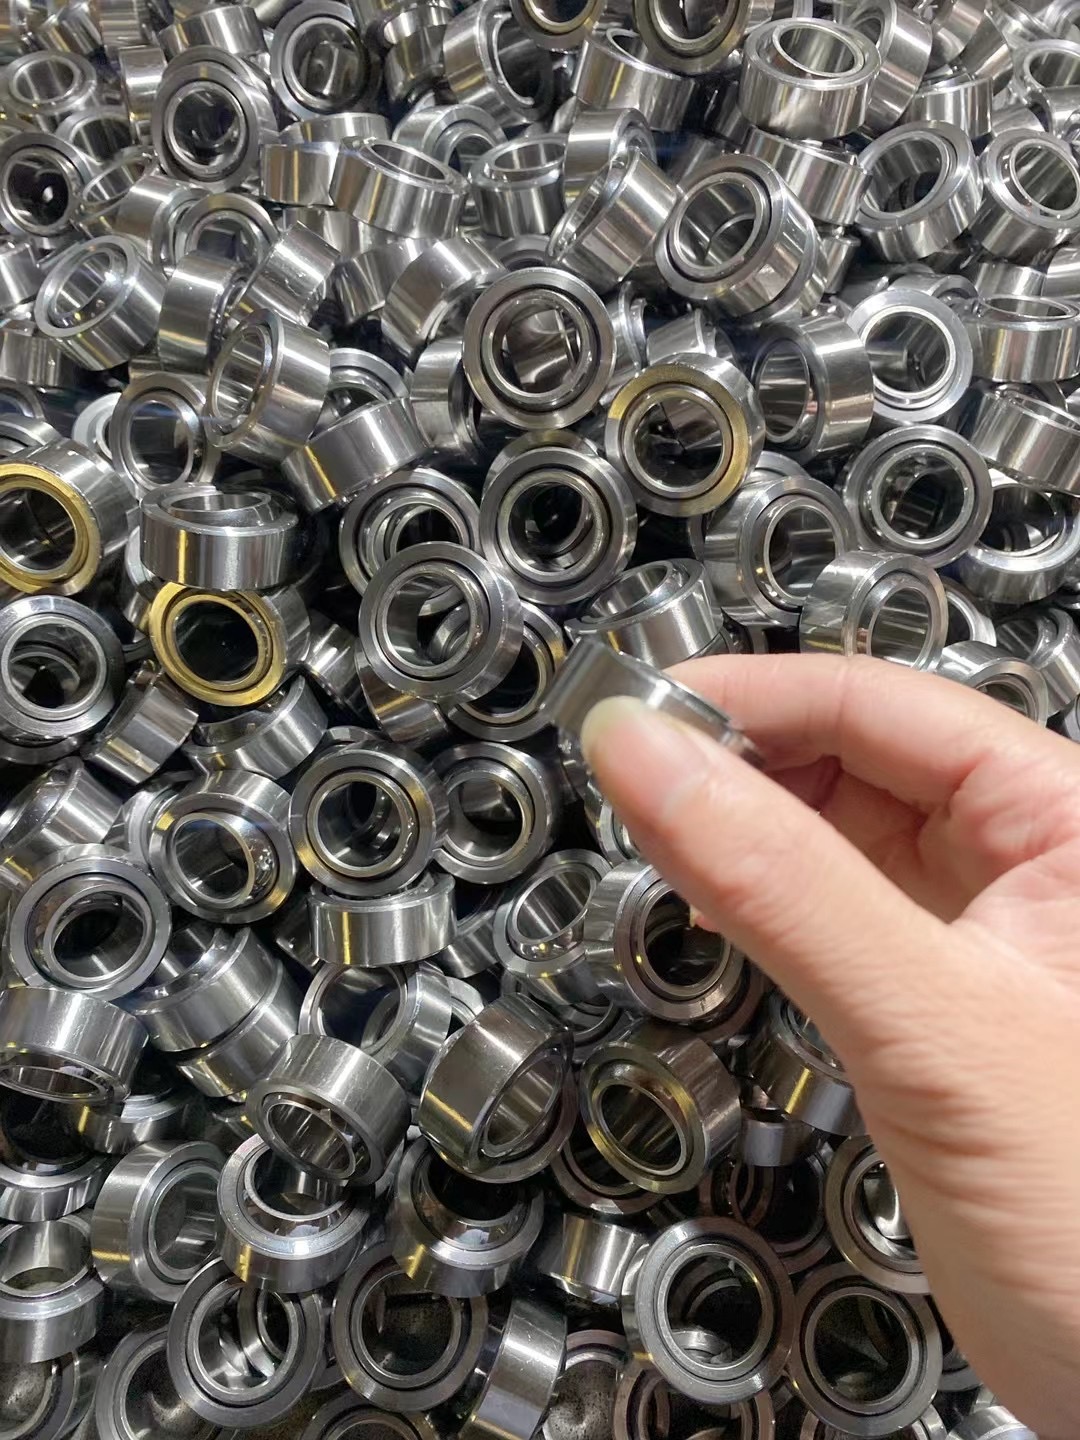
1. Requirements for precision bearings on matching parts
Since the accuracy of the precision bearing itself is within 1 μm, it is required to have high dimensional accuracy and shape accuracy with its matching parts (shaft, bearing seat, end cover, retaining ring, etc.), especially the accuracy of the mating surface should be controlled at the same level as the bearing This is crucial and most easily overlooked.
It must also be noted that if the matching parts of the precision bearing do not meet the above requirements, the precision bearing will often have an error several times larger than the original bearing after installation, or even more than 10 times the error, and it is not a precision bearing at all. The reason is that the matching machine The error of the parts is often not simply superimposed on the error of the bearing, but added after being amplified by different multiples.
2. Fitting of precision bearings
In order to ensure that the bearing does not produce excessive deformation after installation, it must be done:
(1) The roundness of the shaft and the seat hole and the verticality of the shoulder should be required according to the corresponding precision of the bearing.
(2) It is necessary to accurately calculate the interference of the rotating ferrule and the appropriate fit of the fixed ferrule.
The interference of the rotating ferrule should be as small as possible. As long as the influence of thermal expansion at the working temperature and the influence of centrifugal force at the highest speed are ensured, it will not cause creep or sliding of the tight fit surface. According to the size of the working load and the size of the bearing, the fixed ring selects a very small clearance fit or interference fit. Too loose or too tight is not conducive to maintaining the original and accurate shape.
(3) If the bearing operates under high-speed conditions and the working temperature is high, special attention should be paid to the fit of the rotating ring not being too loose to prevent eccentric vibration, and the fit of the fixed ring to prevent gaps from occurring. Deforms under load and excites vibrations.
(4) The condition for adopting a small interference fit for the fixed ring is that both sides of the matching surface have high shape accuracy and small roughness, otherwise it will make installation difficult and disassembly more difficult. In addition, the influence of thermal elongation of the spindle needs to be considered .
(5) The main shaft using a pair of double-linked angular contact ball bearings mostly has a light load. If the fit interference is too large, the internal axial preload will be significantly larger, causing adverse effects. The main shaft using double-row short cylindrical roller bearings and the main shaft of tapered roller bearings have relatively large loads, so the fit interference is also relatively large.
3. Methods of Improving Actual Matching Accuracy
In order to improve the actual matching accuracy of bearing installation, it is necessary to use measuring methods and measuring tools that do not deform the bearing to carry out actual precise measurement of the matching surface dimensions of the inner hole and outer circle of the bearing, and the measurement of the inner diameter and outer diameter can be carried out All the items are measured, and the measured data are comprehensively analyzed, based on which, the dimensions of the bearing installation parts of the shaft and the seat hole are precisely matched. When actually measuring the corresponding dimensions and geometric shapes of the shaft and seat hole, it should be carried out under the same temperature conditions as when measuring the bearing.
In order to ensure a high actual matching effect, the roughness of the shaft and housing hole matching the bearing surface should be as small as possible.
When making the above measurements, two sets of marks that can indicate the direction of the maximum deviation should be made on the outer circle and inner hole of the bearing, and on the corresponding surfaces of the shaft and the seat hole, on both sides close to the assembly chamfer, so that In the actual assembly, the maximum deviation of the two matching parties is aligned in the same direction, so that after assembly, the deviation of the two parties can be partially offset.
The purpose of making two sets of orientation marks is that the compensation for the deviation can be considered comprehensively, so that the respective rotation accuracy of the two ends of the support is improved, and the coaxiality error of the seat hole between the two supports and the shaft journals at both ends is partially obtained. eliminate. Implementing surface strengthening measures on the mating surface, such as sandblasting, using a precision plug with a slightly larger diameter to plug the inner hole once, etc., are conducive to improving the mating accuracy.

Post time: Jul-10-2023
